.png)
![]() 22nd of November 2024
22nd of November 2024
How to Set Up a GPS Tracker with a SIM Card: A Step-by-Step Guide
GPS tracking is a common utility in today's world. It is an extremely valuable feature for personal, commercial, and security purposes. Although there are various types of GPS devices available in the market, the setup process includes some common basic steps.
Majority of the GPS trackers require a SIM card to access GPS signals remotely. These devices include vehicle GPS trackers, personal GPS devices and asset trackers. This detailed guide will make it easy for you to easily setup any GPS tracker with a SIM card
Whether you’re tracking your vehicle with a device like the Argsa Plus GPS Tracker or using a portable personal tracker like the Argsa Magnetic GPS Tracker, this easy setup guide will make your device activation process seamless.
Types of SIM Cards for GPS Trackers
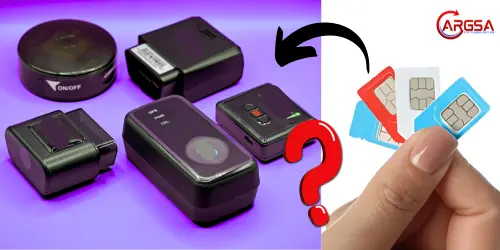
There are conventionally two main types of SIM cards used in GPS trackers:
1. Standard Mobile SIM Cards
These are the same SIM cards used in mobile phones. They can provide network connection across all networks (e.g., 2G, 3G, 4G, or 5G).
2. M2M SIM Cards (Machine-to-Machine)
These are specialised sim cards made for devices other than cellphones. They are designed for data transfer between two machines or devices that don't require high speed data and different bandwidths.

Step By Step Guide to Setup GPS Tracker with a SIM card
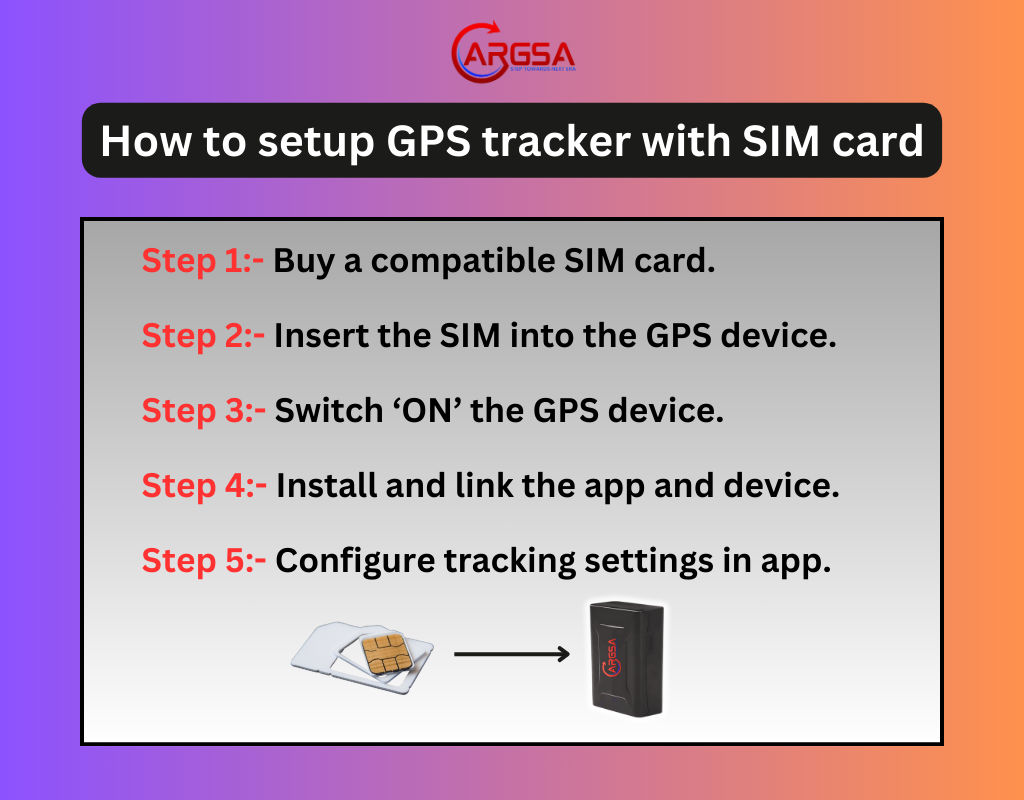
Step 1: Choose the Right GPS Tracker and SIM Card
If you are reading this guide, I assume that you have already bought a GPS tracker and a SIM card. To save your valuable time, skip this step and directly hop on to step 2.
If not then it’s crucial that you opt for a GPS device that specifically caters to your needs. These are some examples of GPS trackers that have different use cases and features:
Vehicle GPS Trackers
Designed specifically to monitor and track vehicle realtime location through app on the users phone. These can be wired, wireless or plug-in type.
Portable GPS Trackers
These are handy lightweight devices which can be carried along in a bag or kept inside a vehicle or asset. They have in-built power and are wireless.
Personal GPS Trackers
Designed to be carried by a person, extremely lightweight devices with SOS button and two-way communication feature. Perfect for safeguarding children and older persons.
Choosing a suitable SIM card
Make sure all these given points are adequately matching with the network provider you are choosing:
Network Compatibility: Check whether the SIM card you are buying provides the necessary network bands for the GPS device or not.
Data Plan Choices: Select a data plan according your GPS device’s needs. Most conventional trackers do not require a very high-cost data plan and work efficiently with a stable low-data plan.
Local/International Usage: Check if the service provider can provide international roaming services. It is essential if your asset is travelling through international borders.
Step 2: Insert the SIM into your GPS device
Every GPS device will have a SIM slot for you to put in your SIM card. Although the position of the slot may vary from device to device, the setup process mostly remains the same. Make sure to activate the SIM card before inserting it into the GPS device.( Please refer to the user manual of the GPS device if provided):
Switch Off the Device
Insert the SIM card while the device is off. This helps to avoid any technical issues and errors. Turn on the device after inserting the SIM card.
Locate the SIM slot
The SIM slot can be hidden by a covering or beside the battery compartment of the GPS device. Carefully handle the slot as it is delicate and contains internal components.
Insert the SIM card
Place the SIM card inside the slot and make sure it is attached tightly and does not come off during use.
Cover the SIM slot
The SIM slot needs to be secured after inserting the card. Make sure to secure the slot by the methods or accessories provided by the GPS brand.
Step 3: Power On the GPS Tracker and Check the LED Indicators
Switch on your GPS device after successfully inserting your SIM card. Try to locate any LED lights blinking after switching on the device. Most GPS devices have three indicators but the colours may vary according to the brand.
Green Light: Indicates that the GPS signal is activated
Blue Light: Indicated that the SIM card is active and network connectivity has been established
Red Light: Usually indicates battery is low, sometimes also indicated low network signal.
* Do consult the user manual provided with your GPS device as these colours might vary.
Step 4: Install the App provided by the GPS brand
Search in the user manual to find the code of the app and download the app from playstore or app store. After downloading, follow the steps as given in the user manual else go through the below processes that may help you in linking the app with the GPS device.
1.Sign up on the app: After installing the app you would be required to sign up using an email id and a password.
2. Link the GPS device with your account: After signing up you will be instructed to enter the IMEI number or the device number to link the device with your account.
3.Choose your preferred subscription plan: The app might suggest buying a subscription plan in order to use it’s features along with the device.
Step 5: Configure Tracking Settings in the App
After you have finished with signing up and buying a subscription plan, go to the app dashboard and enable all the features that you require. You will be able to control all notifications and monitoring access through the app provided by your GPS device company.
Some common features that are provided by all conventional GPS brands are real-time tracking, remote engine on/off, parking mode, geofencing, etc.
Step 6: Test the GPS Tracker
The last thing that remains now is to check how accurate your GPS device really is. Follow these steps for a successful test:
1. Take the GPS device to different locations: Doing this will let you know if the realtime tracking is working or not as you can see the device location in the mobile app.
2. Set Up a Geo-Fence: Mark an area as geofence and take the device outside that area to see if it is sending alerts.
Test all other features similarly by performing it outside to ensure all the features are working properly.
Additional Tips for Effective GPS Tracking
1. Remember to always keep the SIM card active: Keep a track on the SIM card’s data plan. Recharge with a network plan as soon as the previous plan ends.
2. Track app subscription status: Keep your app subscription active to access tracking of your device without any break.
3. Maintain the GPS device regularly: Clean the device occasionally and replace batteries if the older batteries do not have much power left.
Conclusion
Setting up a GPS tracker with a SIM card is pretty much a straight-forward process. You just have to ensure that the device you are buying suit your needs. Choosing the right SIM card also plays a crucial role in long-term and efficient tracking.
Whether you’re safeguarding your vehicle with advanced trackers like the Argsa Plus GPS Tracker or simply tracking assets, knowing how to setup a GPS tracker enables you to be independent and control your own assets or vehicles. We hope this guide will help you in that process and you will able to use your GPS device effortlessly.
Also read our detailed guides about which GPS trackers need a SIM card, how a GPS device functions and whether voice can be monitored by a GPS tracker.
Related Blogs
![]() 2nd of November 2024
2nd of November 2024
![]() 22nd of November 2024
22nd of November 2024


.png)